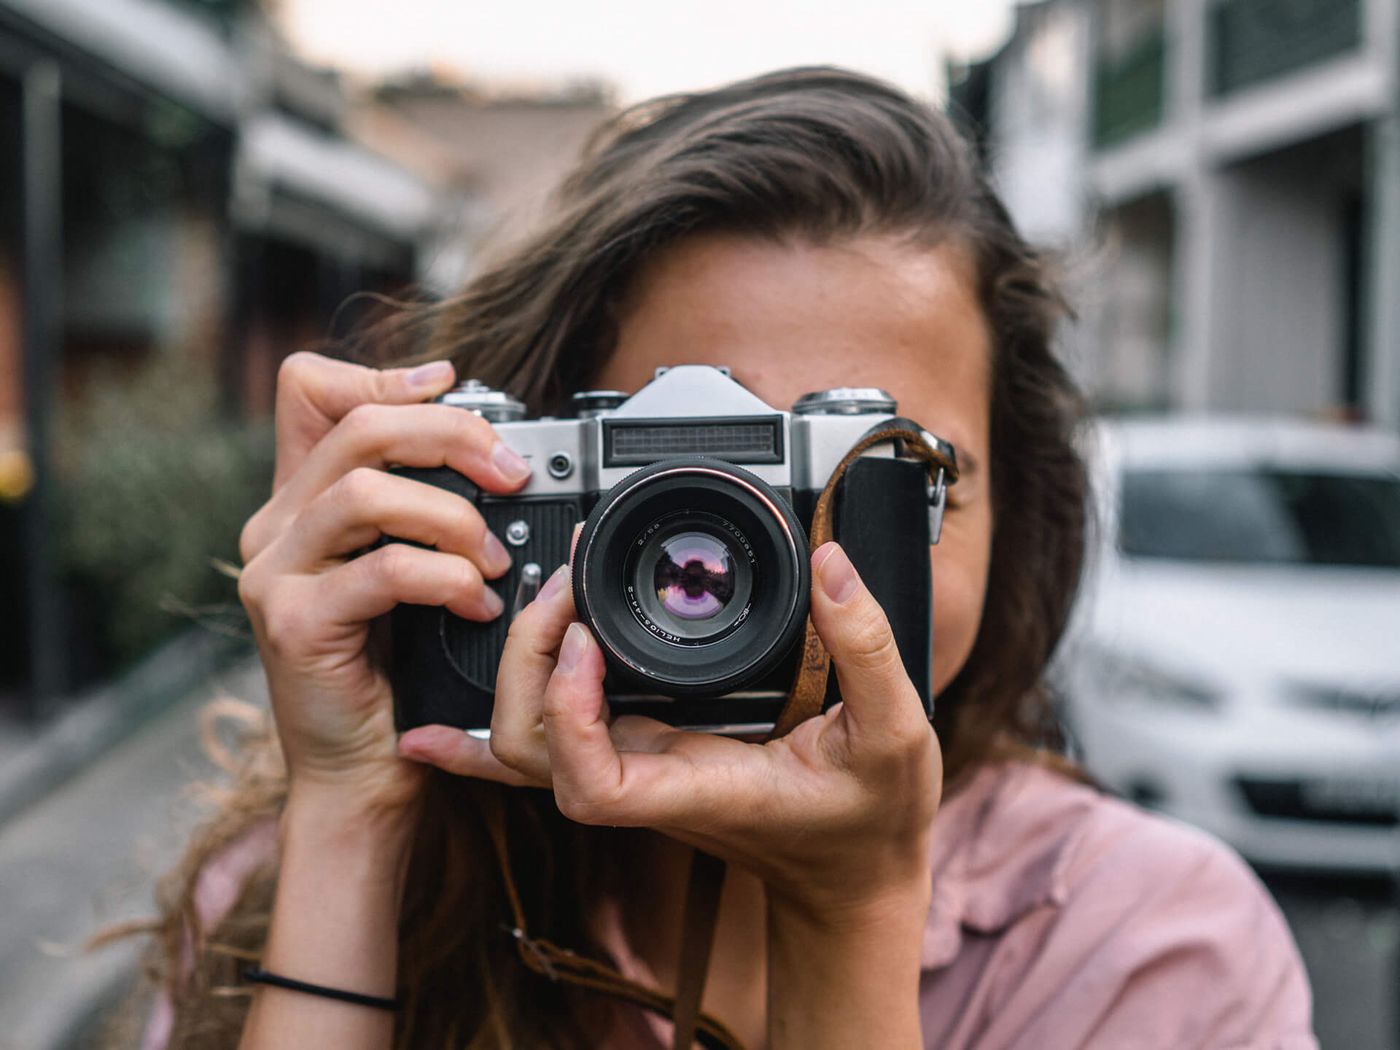
Online shoppers cannot pick up your product, turn it over or feel its weight. The photos have to do all of that work. For small brands, producing a full catalog of clean, consistent, conversion-ready images used to mean studio rentals and long retouching queues. AI has changed the economics. This playbook walks through how to shoot a solid base photo with a phone, where AI fits in, how to keep a catalog consistent and color-accurate, and how to export images that load fast and rank well. It is the same process we use at Pix Me.
Key takeaways
- Product images are often the single most important factor in whether a shopper trusts a listing enough to buy.
- A well-lit, sharp phone photo is a perfectly good base; AI handles backgrounds, cleanup and variations.
- Every marketplace publishes its own image rules. Build a master image that can be cropped to meet all of them.
- Color accuracy is not cosmetic: images that misrepresent color are a common reason for disappointed customers and returns.
- Descriptive file names, useful alt text and modern formats like WebP help images get found and load quickly.
Why product images drive conversions
In a physical store, the product sells itself through touch and presence. Online, the image is the product, at least until the parcel arrives. Shoppers use photos to answer practical questions: how big is it, what is it made of, what does it look like in use, is the color what I expect? When images answer those questions clearly, hesitation drops. When they are dark, inconsistent or obviously cheap, shoppers reasonably assume the product and the seller may be too.
Images also do quiet work beyond the product page. They appear in category grids, search results, ads and social feeds, often at thumbnail size. A clean silhouette and strong contrast can be the difference between a click and a scroll. That is why product photography is one of the highest-leverage investments a small e-commerce business can make, a theme we explore more broadly in visual content marketing for small businesses.
Marketplace image requirements, in general terms
Every major marketplace and shopping platform publishes its own image guidelines, and they are updated from time to time, so always check the current rules for each channel you sell on. That said, the requirements tend to share a common shape:
- A clean main image. Many marketplaces require or strongly prefer the primary image on a pure white or plain, neutral background, with the product filling most of the frame.
- Minimum resolution. Platforms usually set a minimum pixel size, and larger images are often needed to enable zoom on the product page. Uploading generously sized files is the safe default.
- Square or near-square ratios. Square images display consistently in grids and on mobile.
- Only what is for sale. Props, extra accessories or text overlays in the main image are commonly restricted, because they can confuse buyers about what is included.
Secondary images usually have more freedom: lifestyle scenes, scale shots, detail close-ups and infographics are typically allowed and encouraged.
Tip: Create one high-resolution master per product, with a little extra space around the item. From that master you can crop a square white-background main image, a vertical social version and a wide banner without reshooting.
Shooting a great base photo with a phone
AI can replace a background in seconds, but it cannot invent accurate detail about your product. The base photo must capture the real object faithfully: its shape, texture, labels and color. Modern phone cameras are more than capable of this if you control a few variables.
Light
Soft, even light is the goal. A large window with indirect daylight (not direct sun) is the best free light source you have. Place the product beside the window, not in front of it, and use a white card or foam board on the opposite side to bounce light into the shadows. Turn off overhead room lights, since mixing daylight with warm bulbs creates color casts that are hard to correct. Two continuous LED panels with diffusers give repeatable light at any hour.
Angles
Plan a standard shot list and stick to it for every product in a category. A typical set covers a straight-on front view, a three-quarter angle, the back or side, a top-down view for flat items, and one or two close-ups of texture, stitching, ports or labels. Shoot at the product's own height to avoid distorting proportions.
Stability and settings
- Use a tripod. A small phone tripod eliminates shake and, more importantly, keeps the camera in the same position for every product, which is the foundation of catalog consistency.
- Use the main lens. The phone's primary camera usually has the best sensor. Avoid digital zoom; move closer instead, or use a dedicated telephoto lens if the phone has one, which also reduces distortion.
- Lock focus and exposure. Tap and hold on the product so the phone does not re-meter between shots.
- Turn off beauty and scene effects. They alter texture and color unpredictably.
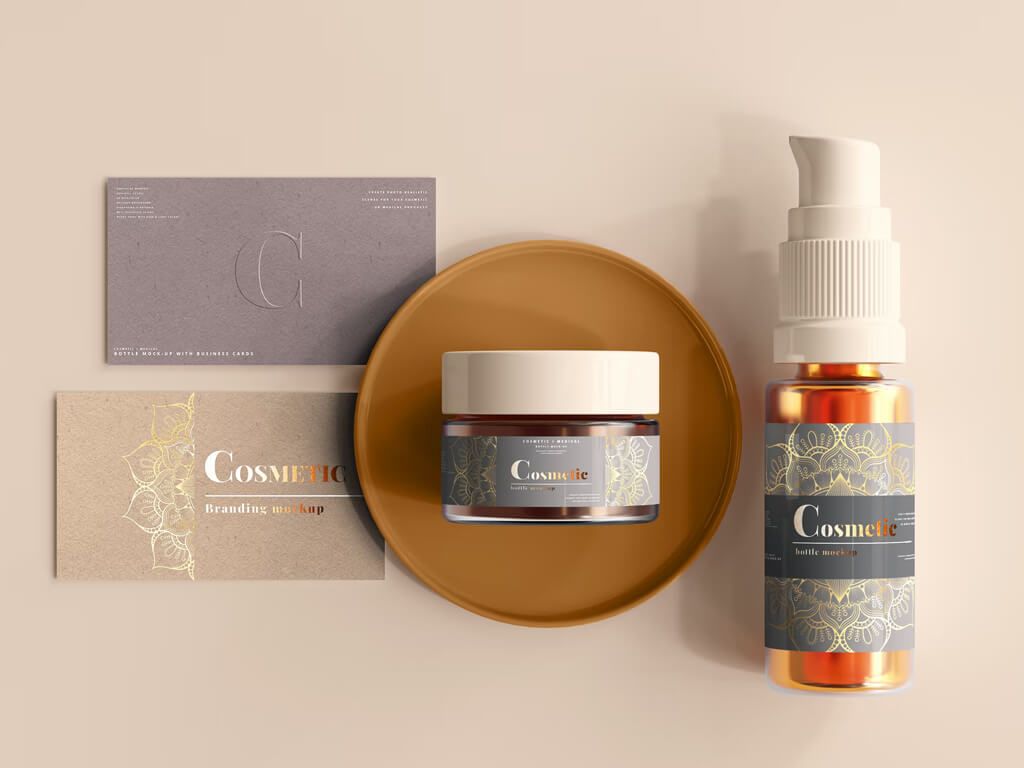
AI background replacement and lifestyle scenes
Once you have a sharp, well-lit base photo, AI takes over the parts that used to require a studio.
Clean white and neutral backgrounds
Segmentation models separate the product from its surroundings with precise edges, even around tricky materials such as clear glass, mesh fabric or fur trim. The product is then placed on pure white or a consistent neutral tone, with a soft, natural contact shadow so it does not look pasted on.
Lifestyle and contextual scenes
Generative models can place the same product on a marble bathroom counter, a wooden desk or a picnic blanket, matching perspective and lighting to the scene. This lets small sellers show products in use without booking locations, props and models. It works best when:
- The scene suits the product and the audience (a rugged water bottle on a trail, not a boardroom table).
- The lighting direction in the scene matches the lighting on the product.
- Scale is correct. A mug should not look the size of a vase next to generated objects.
- The product itself is never altered. The background changes; the item stays exactly as photographed.
Honesty check: Generated scenes are fine for showing context and mood, but they must not imply that the product includes things it does not, looks different than it does, or is a different size. When a scene could mislead, a real photo is the better choice.
Consistency across a catalog
A category page where every product has a different background tone, shadow style, angle and crop looks chaotic, even if each image is individually fine. Consistency signals a professional, trustworthy store. Build it into your process:
- Write a simple style guide. Background color, product fill (for example, the product occupying most of the frame with even margins), shadow style, standard angles and aspect ratio.
- Fix the physical setup. Mark tripod and product positions with tape so the geometry repeats between shooting days.
- Batch-process with the same settings. AI tools shine here: applying one background, shadow and crop recipe to hundreds of images keeps them uniform in a way manual editing struggles to match.
- Review as a grid. Check new images side by side with existing ones, as a shopper would see them, before publishing.
Color accuracy and returns
"The color was different from the photo" is one of the most common complaints in online retail, particularly for clothing, cosmetics, home textiles and paint-adjacent products. Every mismatch risks a return, a poor review and a customer who does not come back. A few practices keep color honest:
- Use a gray card or color checker in a reference shot for each session. It gives an objective neutral point for white balance correction.
- Avoid mixed lighting, which causes casts that shift differently across the frame.
- Edit on a calibrated or at least consistent screen, and compare the edited image against the physical product under daylight.
- Export in sRGB. Most browsers and phones assume sRGB; other profiles can display with shifted colors.
- Resist the urge to "make it pop." Boosting saturation may look attractive in a thumbnail, but it sets expectations the real product cannot meet.
AI color correction is very good at removing casts and matching a batch to a reference, but it has no idea what your product actually looks like unless you tell it. The reference shot and a human comparison are what anchor it to reality.
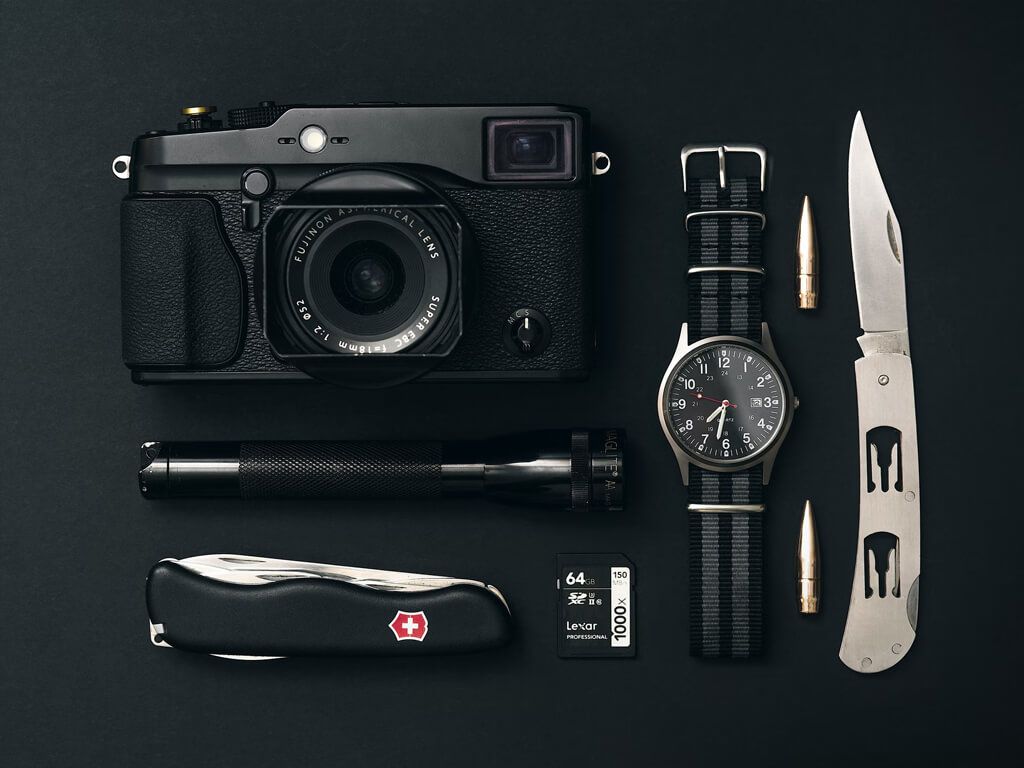
Alt text, file names and image SEO
Product images can bring in traffic from image search and shopping surfaces, and they matter for accessibility. Google's image SEO guidance is the best single reference; the essentials are straightforward.
Descriptive file names
Replace camera defaults like IMG_4821.jpg with short, descriptive, hyphenated names: ceramic-pour-over-coffee-dripper-white.jpg. Include the product type and a distinguishing attribute such as color or material, and keep a consistent naming pattern across the catalog (for example, product, variant, then view: linen-tote-bag-sand-front.webp).
Alt text that helps people
Alt text is read aloud by screen readers and used by search engines to understand an image. Describe what is visible, specifically and briefly: "White ceramic pour-over coffee dripper on a glass carafe" is useful; "coffee dripper best cheap buy now" is keyword stuffing and helps no one. Each image of the same product should have alt text that reflects its specific view or detail.
Supporting context
Place images near relevant text, use structured product data where your platform supports it, and make sure images are crawlable rather than loaded only through scripts that search engines might not execute. If search is a core channel for you, our SEO and search marketing service can audit this alongside the rest of your store.
WebP, compression and page speed
Large, unoptimized images are among the most common causes of slow product pages, and slow pages frustrate mobile shoppers in particular. Keep your high-resolution master for archival and marketplace uploads, then serve optimized versions on your own site:
- Use WebP (or AVIF where supported) for noticeably smaller files than JPEG at similar visual quality, with JPEG as a fallback if your platform needs one.
- Resize before upload. Do not ask a browser to shrink a huge image to a small thumbnail.
- Serve responsive sizes with
srcsetso phones get smaller files than large desktop screens. - Lazy-load images below the fold, but not the main product image, which should load immediately.
The AI-assisted product photo workflow
Here is the end-to-end process we recommend, and the one behind the Pixme AI product photography service.
Plan the shot list and style guide
Define angles, background, aspect ratios and naming conventions for the whole category before shooting anything.
Shoot base photos
Soft light, tripod, fixed positions, a gray-card reference, and every planned angle for each product and color variant.
Cut out and clean up
AI removes the background, dust and minor blemishes on the photo (not real product defects), and corrects white balance against the reference.
Compose backgrounds and scenes
Generate the white main image with a natural shadow, plus lifestyle scenes for secondary images, keeping the product untouched.
Review for accuracy
Compare color, shape and details against the physical product, and review the full set as a grid for consistency.
Export and publish
Name files descriptively, write alt text, export marketplace masters and web-optimized WebP versions, then upload.
Studio shoot vs. AI-assisted vs. hybrid
There is no single right answer; the best approach depends on catalog size, product type and brand positioning. The comparison below is qualitative, since actual costs vary widely by market and project.
| Factor | Traditional studio shoot | AI-assisted | Hybrid |
|---|---|---|---|
| Upfront cost | Highest (studio, photographer, props, retouching) | Lowest (phone setup plus AI processing) | Moderate |
| Turnaround | Days to weeks | Hours to days | Days |
| Flexibility for new scenes | Low; new looks need a reshoot | High; new backgrounds on demand | High |
| Hero and campaign quality | Excellent | Good, varies by product | Excellent where it counts |
| Catalog consistency | Good within a session | Very good with batch settings | Very good |
| Difficult materials (glass, chrome, jewelry) | Strongest | Most challenging | Studio for difficult items, AI for the rest |
| Best for | Premium brands, launches, ad campaigns | Large catalogs, frequent new SKUs, tight budgets | Growing brands balancing quality and scale |
For many small and mid-sized stores, the hybrid model is the sweet spot: invest in a studio or professional shoot for a handful of hero products and campaign images, and use AI-assisted production for the long tail of SKUs and seasonal variations.
Product photo checklist
- Checked the current image rules for every marketplace you sell on
- Soft, single-type lighting with a bounce card; no mixed color temperatures
- Tripod in a marked position; focus and exposure locked
- Gray card reference shot for each session
- Full standard angle set plus detail close-ups for each variant
- Clean white main image with a natural shadow, product filling most of the frame
- Lifestyle scenes that match lighting and scale and do not misrepresent the product
- Color verified against the physical product; exported in sRGB
- Descriptive, hyphenated file names and specific alt text
- WebP versions for your site, responsive sizes, main image not lazy-loaded
- New images reviewed as a grid alongside the existing catalog
Pix Me can take on any part of this, from background replacement on photos you shot yourself to full catalog production. If some of your existing images are simply too small or noisy, start with our complete guide to AI photo enhancement.
Frequently asked questions
Can I really use a phone for professional product photos?
Yes, for most products. Recent phone cameras capture plenty of detail for web and marketplace use. The results depend far more on light, stability and consistency than on the camera. Highly reflective items, such as jewelry or chrome, are the main exception where professional lighting still makes a big difference.
Are AI-generated lifestyle scenes allowed on marketplaces?
Policies vary by platform and change over time, so check each marketplace's current rules. In general, main images tend to have strict requirements (often a plain white background and only the product for sale), while secondary images allow more creative context. Whatever the rules, scenes should never misrepresent the product.
Will AI change how my product looks?
It should not, and in a well-run workflow it does not. Background replacement and cleanup work around the product, and a human review compares shape, color and details against the real item. If a tool alters labels, logos or proportions, that output should be rejected.
What format should I upload to my online store?
Follow your platform's requirements first. Many accept JPEG, PNG and WebP, and some convert images automatically. For your own site, WebP typically offers a strong balance of quality and file size. Always keep a high-resolution master so you can re-export later.
How many images should each product have?
Enough to answer a shopper's questions without them having to ask: usually a clean main image, several angles, detail close-ups, a scale reference and at least one image of the product in use. Complex or higher-priced products generally benefit from more.
Get catalog-ready product images with Pixme AI
Send us your phone photos or plan a full shoot. Pix Me delivers clean backgrounds, lifestyle scenes and web-optimized files, with every image checked against the real product.
Explore AI product photography